


The Secret To Lighting Amazing Pictures
When you think of what makes an amazing image, what comes to mind first? Is it a model? Is it the background? Is it what it makes you feel?
Let’s step back for a second … Imagine going on a walk through the countryside in England.
You’re strolling through a cow pasture, flannel shirt wrapped around your waist, film camera slung over your shoulder, swinging a picnic basket by your side and without a care in the world. The sun is streaming through the trees, the breeze is sending your hair in wild directions and you’re having the time of your life. You want to capture this moment forever. You take out your camera …
Then all of a sudden, the sky gets a little darker and the sun disappears behind a cloud. The breeze turns into a whipping wind, you’re wishing you had an umbrella handy and panic begins to set in. What began as an idyllic experience transforms into an unfortunate circumstance. Where did that beautiful light go? Why does the sky’s colour temperature impact a whole day? Will Instagram never see the perfect day that was?
And that’s what brings me to contending this point: light is what makes an image great.
Beautiful models, full-frame cameras, low-light camera capabilities and composition make it easier to capture an amazing image, but light is what makes an image go from good to great. In an world of iPhones at our fingertips and powerful editing software, we can just about fake it with our lighting knowledge until we make it.
But with a few tweaks and educational tips, I can help you level up your photography game! To begin, there are three types of light: back light, front light and diffused light. Let’s break them down:
Back Light
This is when the light source (the sun or a manufactured light such as a flash or a strobe) is behind the subject. You can find the light source by sticking your hand out in front of you and spinning slowly in a circle. If there is glowing light behind your hand and the light on your hand is consistent (no shadows), then you’ve found it! This is called back light.
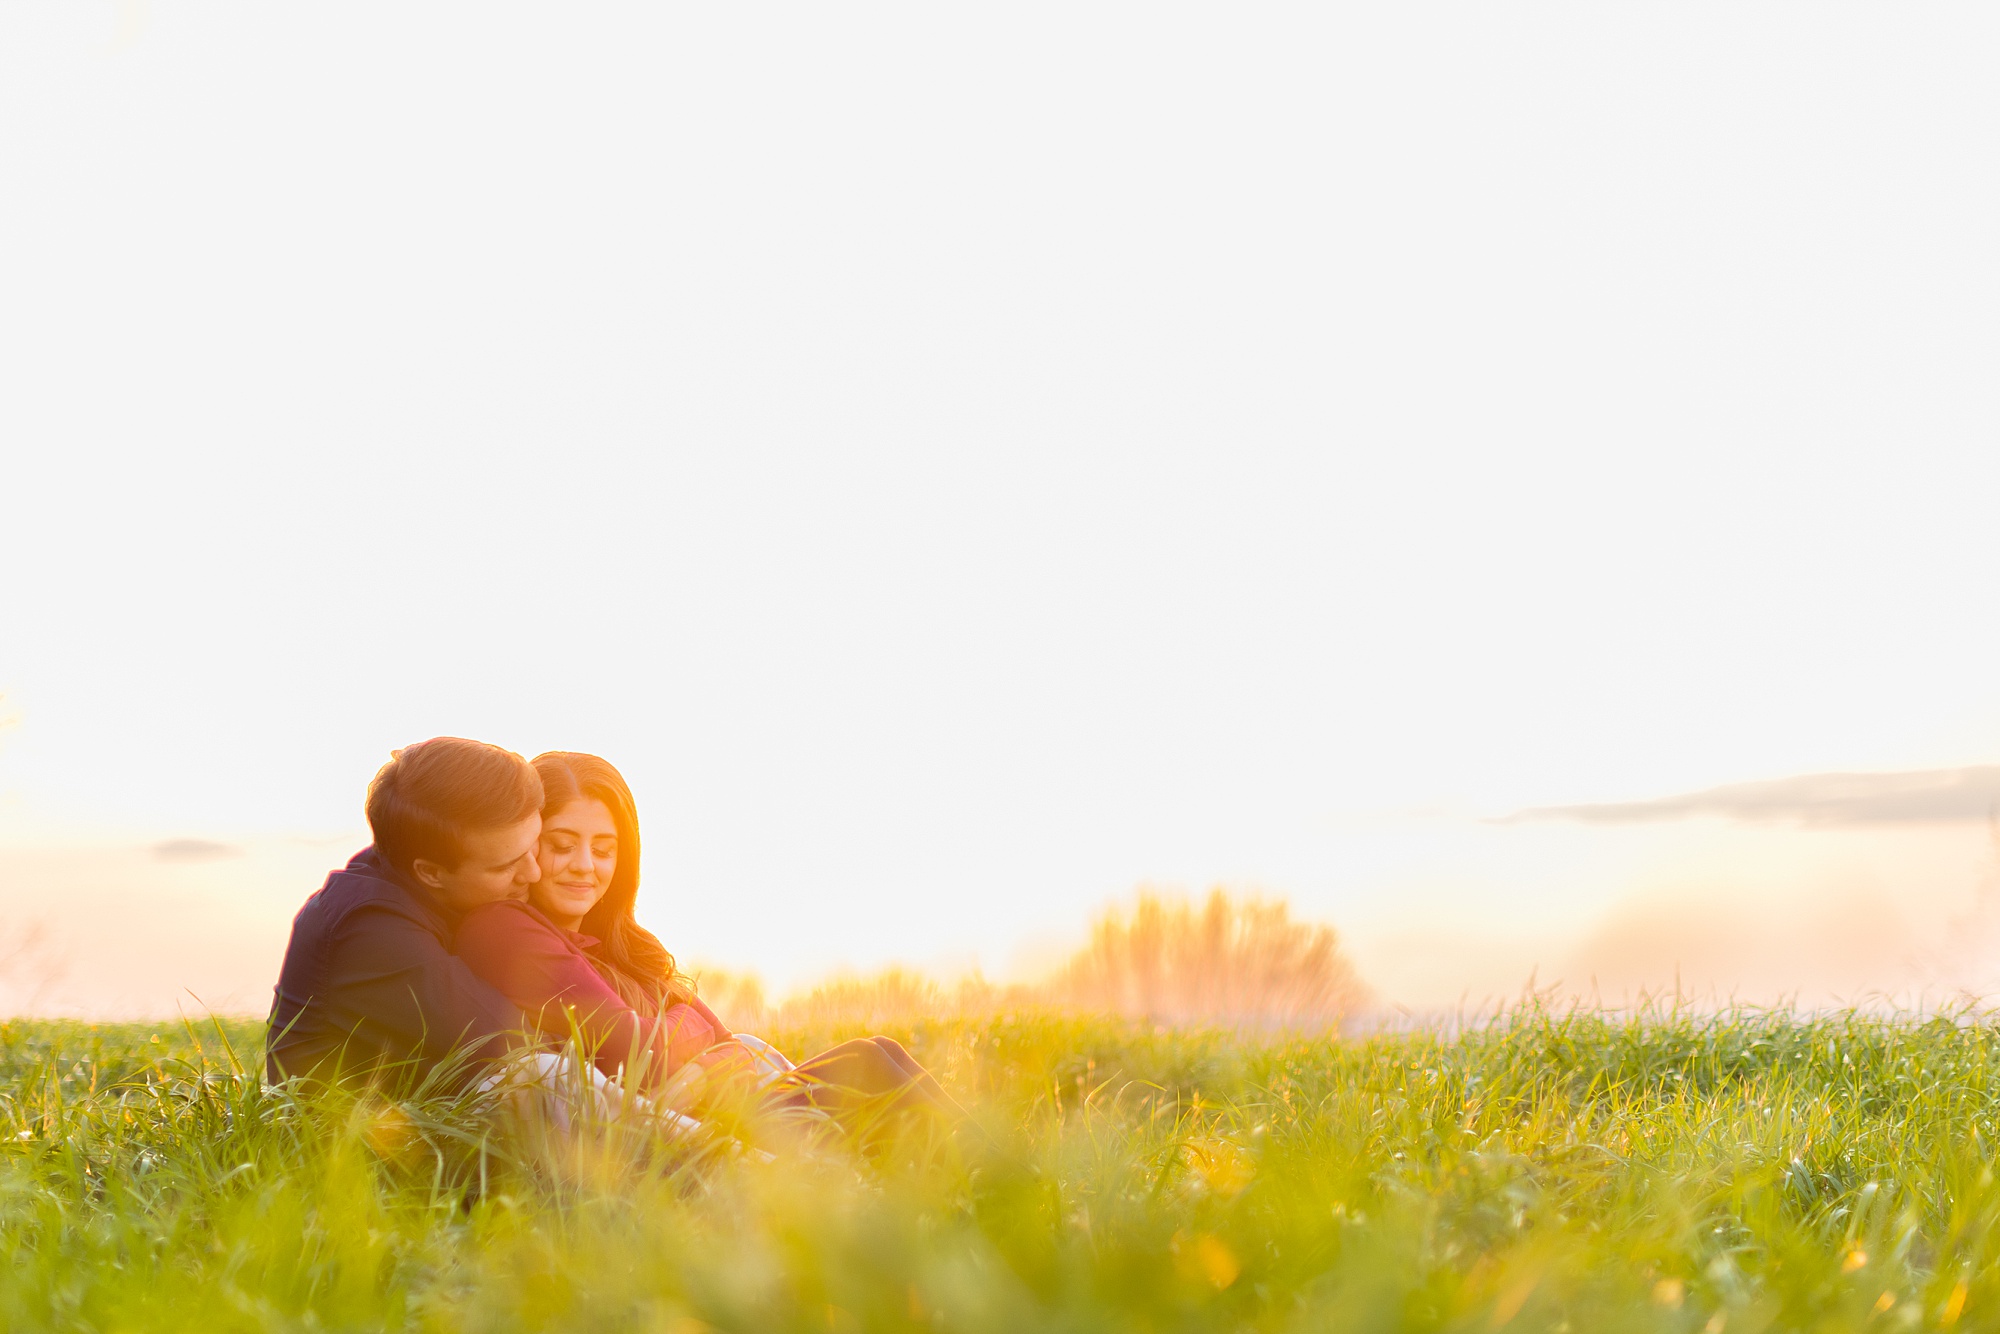
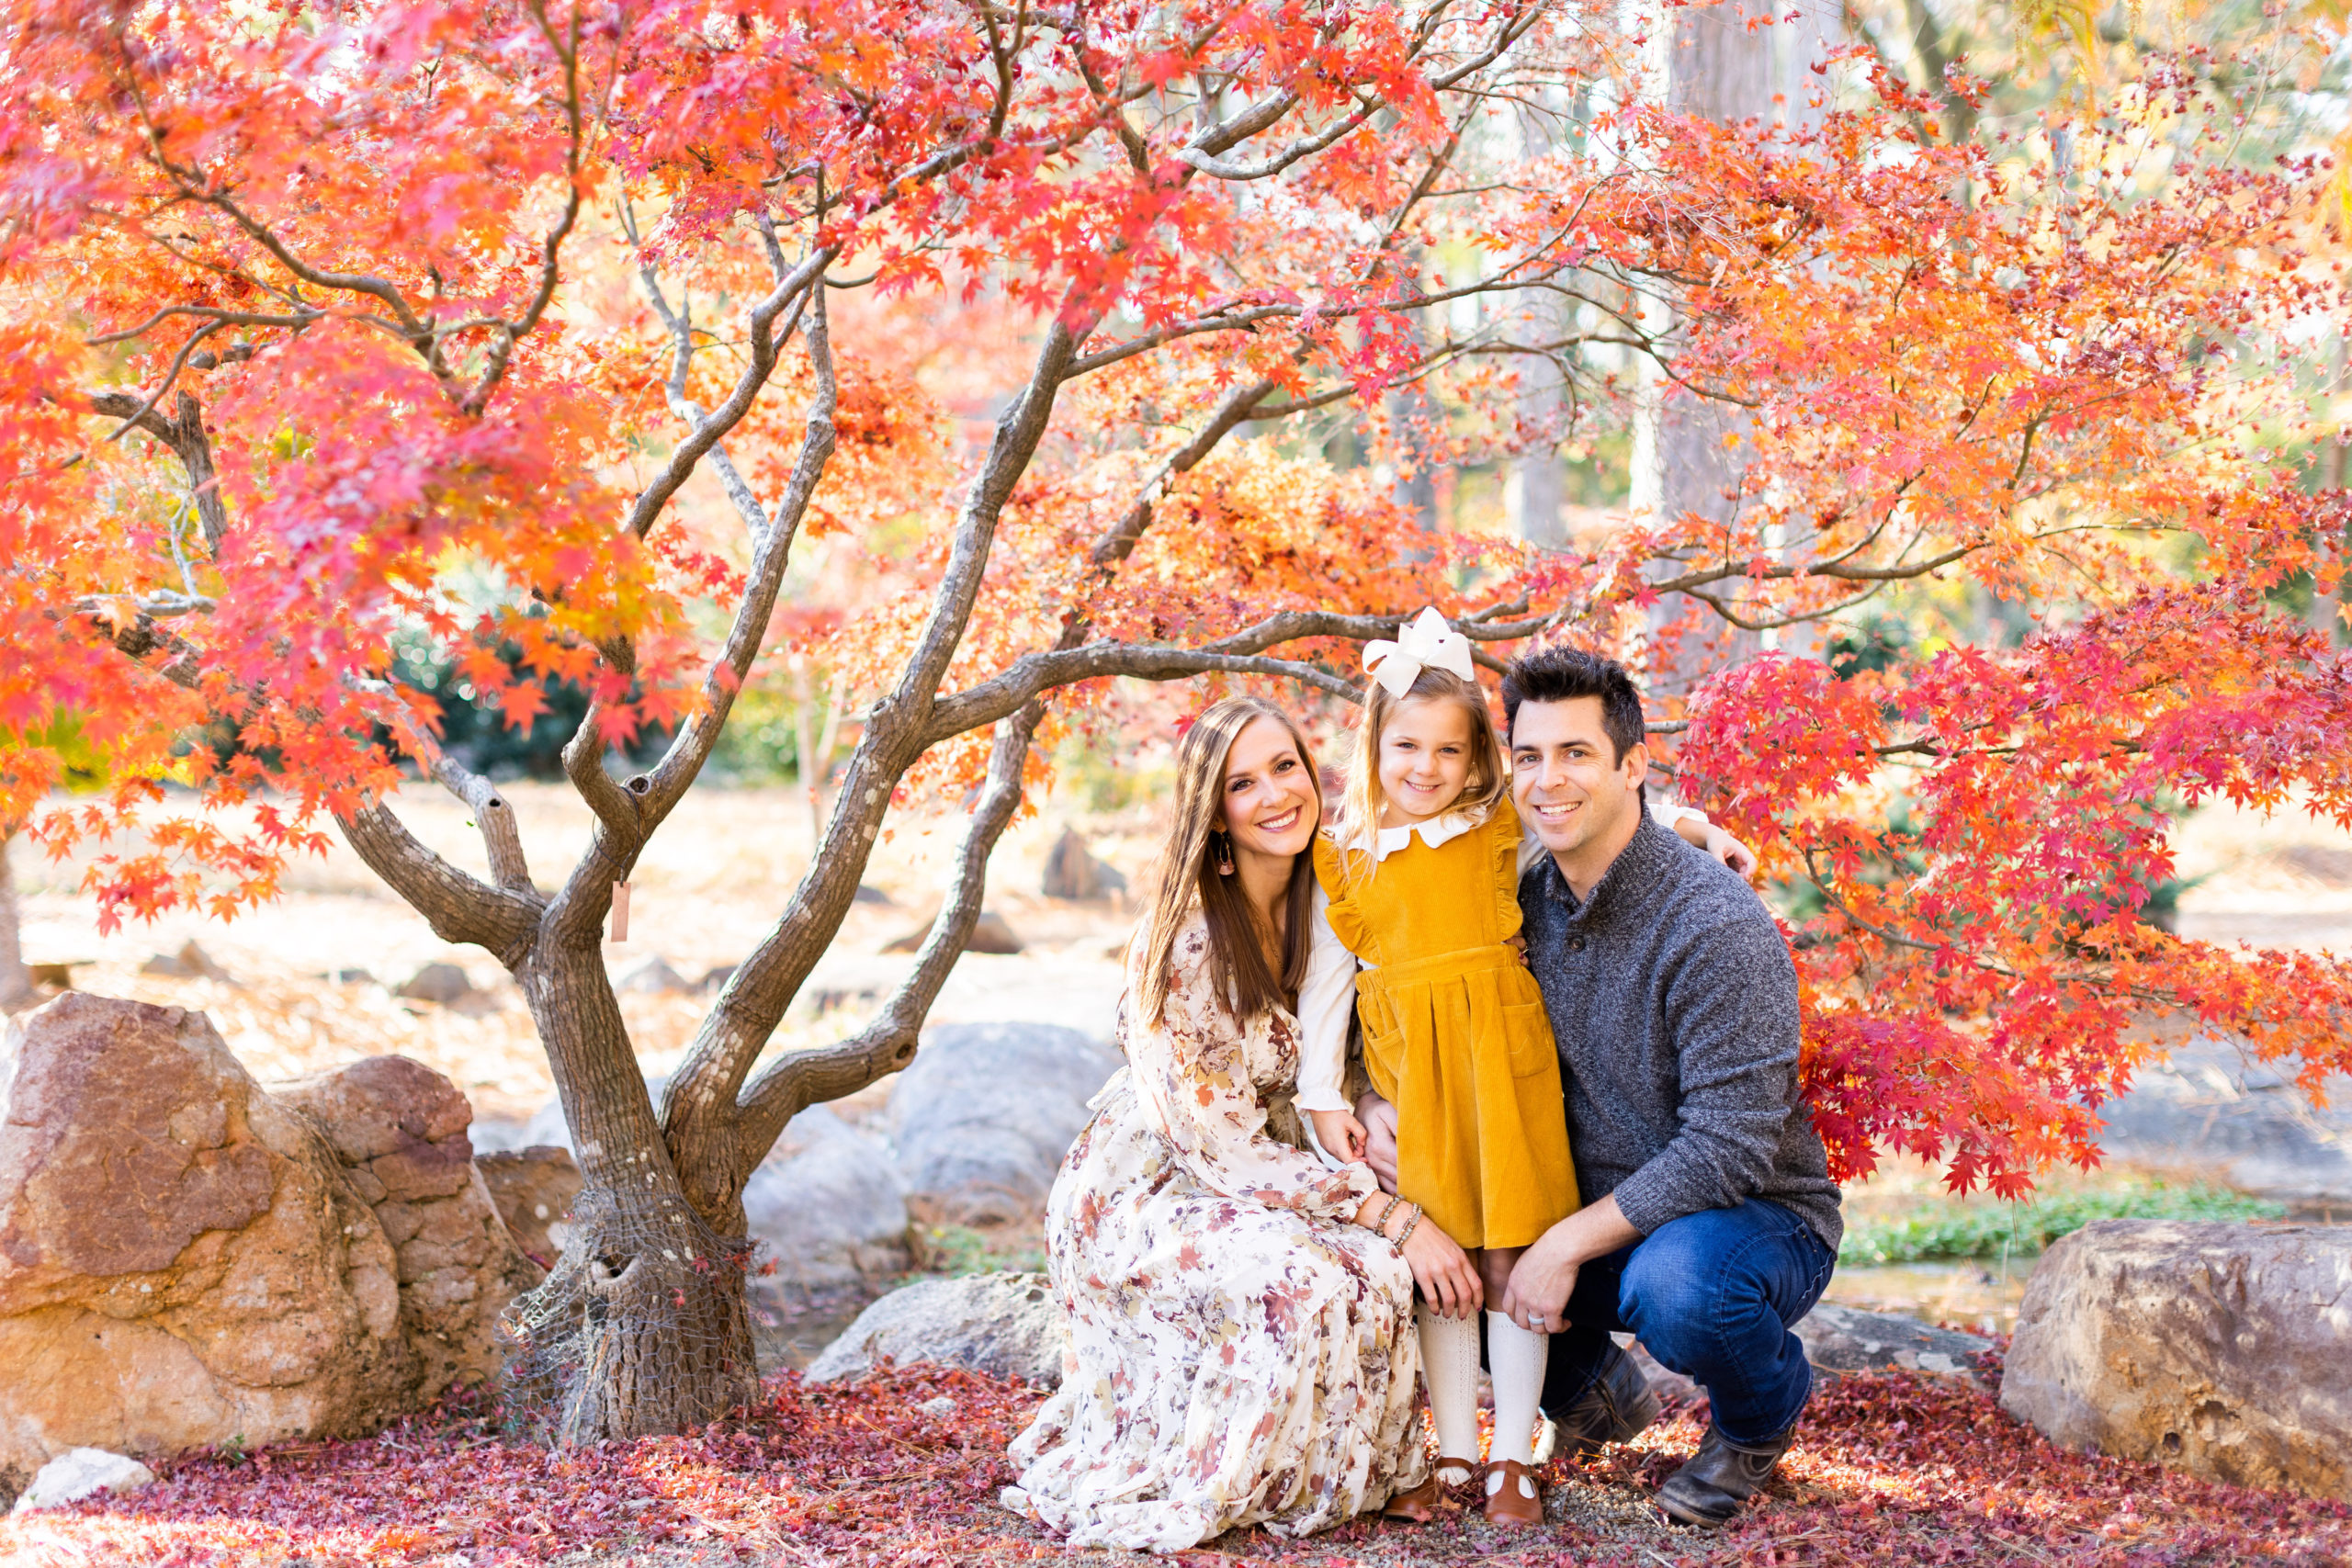
Back light is typically the most flattering, because it creates a glow around the subject. Look for consistent light from head to toe on your subject, and move them a little until you find that sweet spot!
One thing to note shooting into the light: don’t place the subject right in front of the light source, unless that is your desired effect! My signature – and my favourite – work has a lot of sun flare and sun peeking in between a couple. In that case, go crazy and be intentional about it! Otherwise, place the light source about 45 degrees behind the subject so that you get glowy light, but aren’t struggling to shoot into the sun.
Shooting with back light is recommended for most all portraits and memory-making pictures.
Front Light

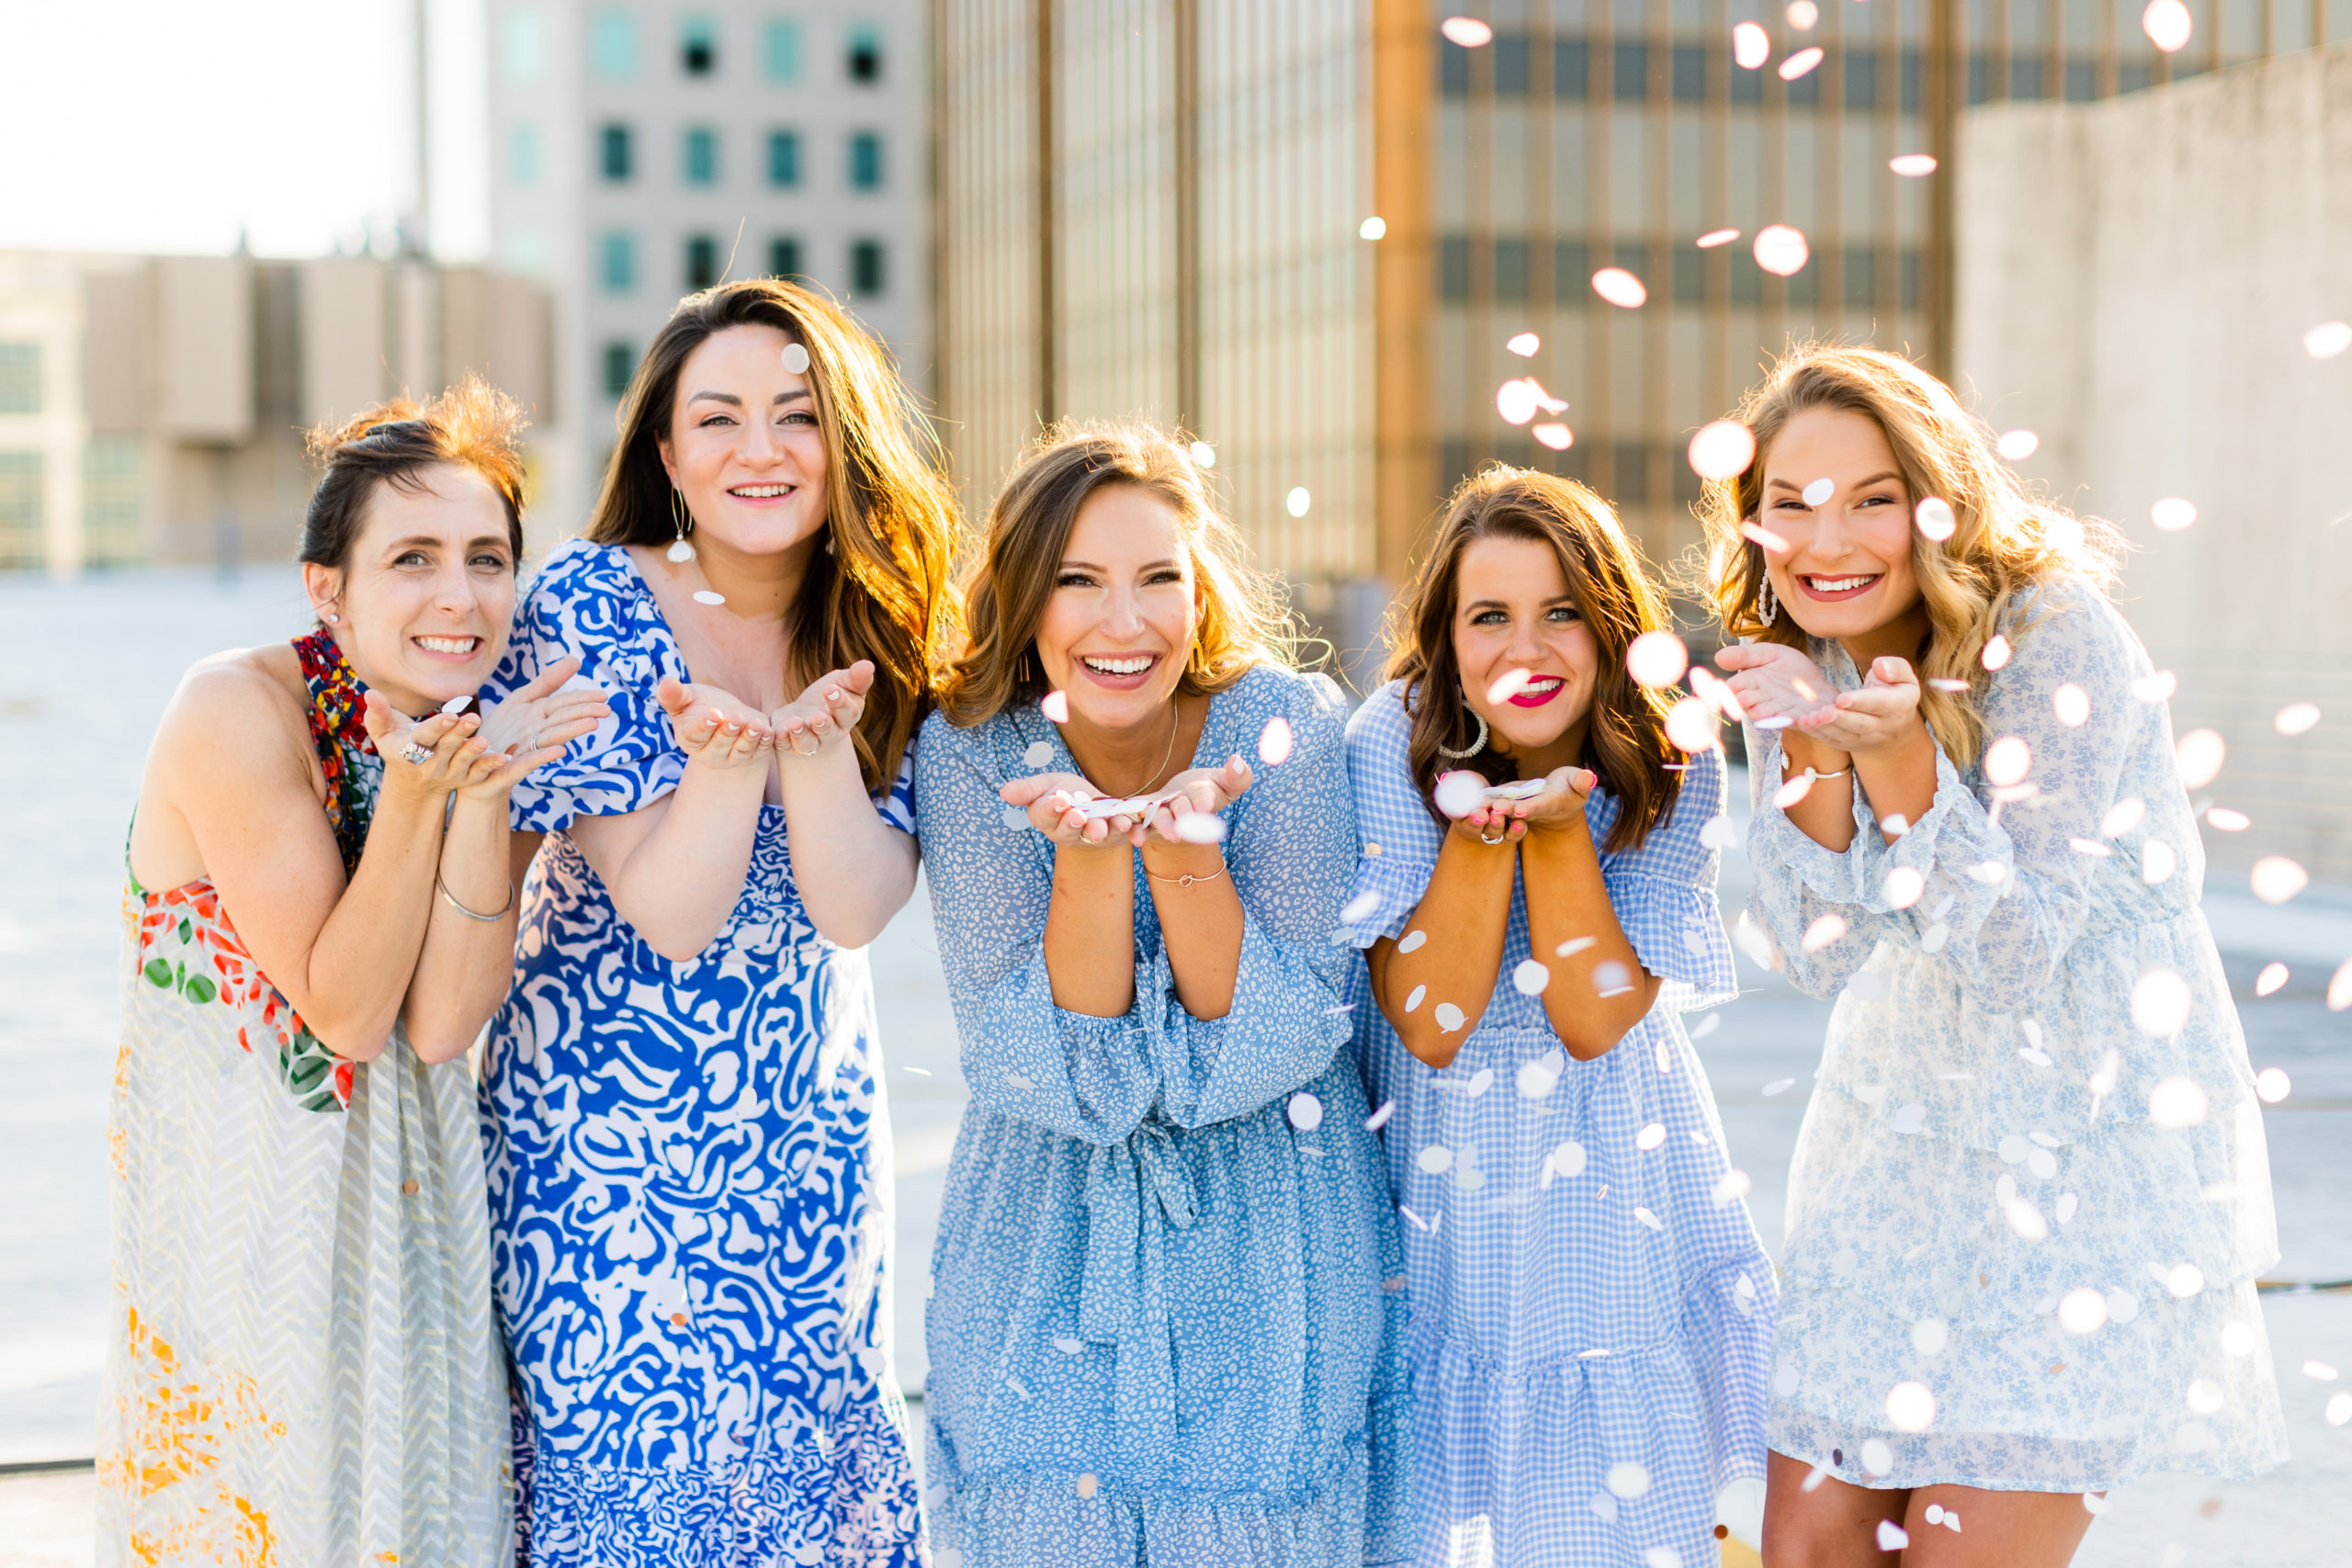
This is when the light source is right in front of the subject. Try the spin-in-a-circle trick while sticking out your hand and, again, watch how the sun hits it. If there is full sun on your hand, you know you’re about to be in for a treat!
The tough thing about shooting in front/harsh light is that it’s easy to over-expose and lose all detail if you’re not careful. Not to mention potentially blinding your subject! 😂 Placing your subject to face the sun leaves you vulnerable to shadows, which can be challenging to shoot, and not recommended if you’re wanting glowy portraits or a nice group photo out and about.
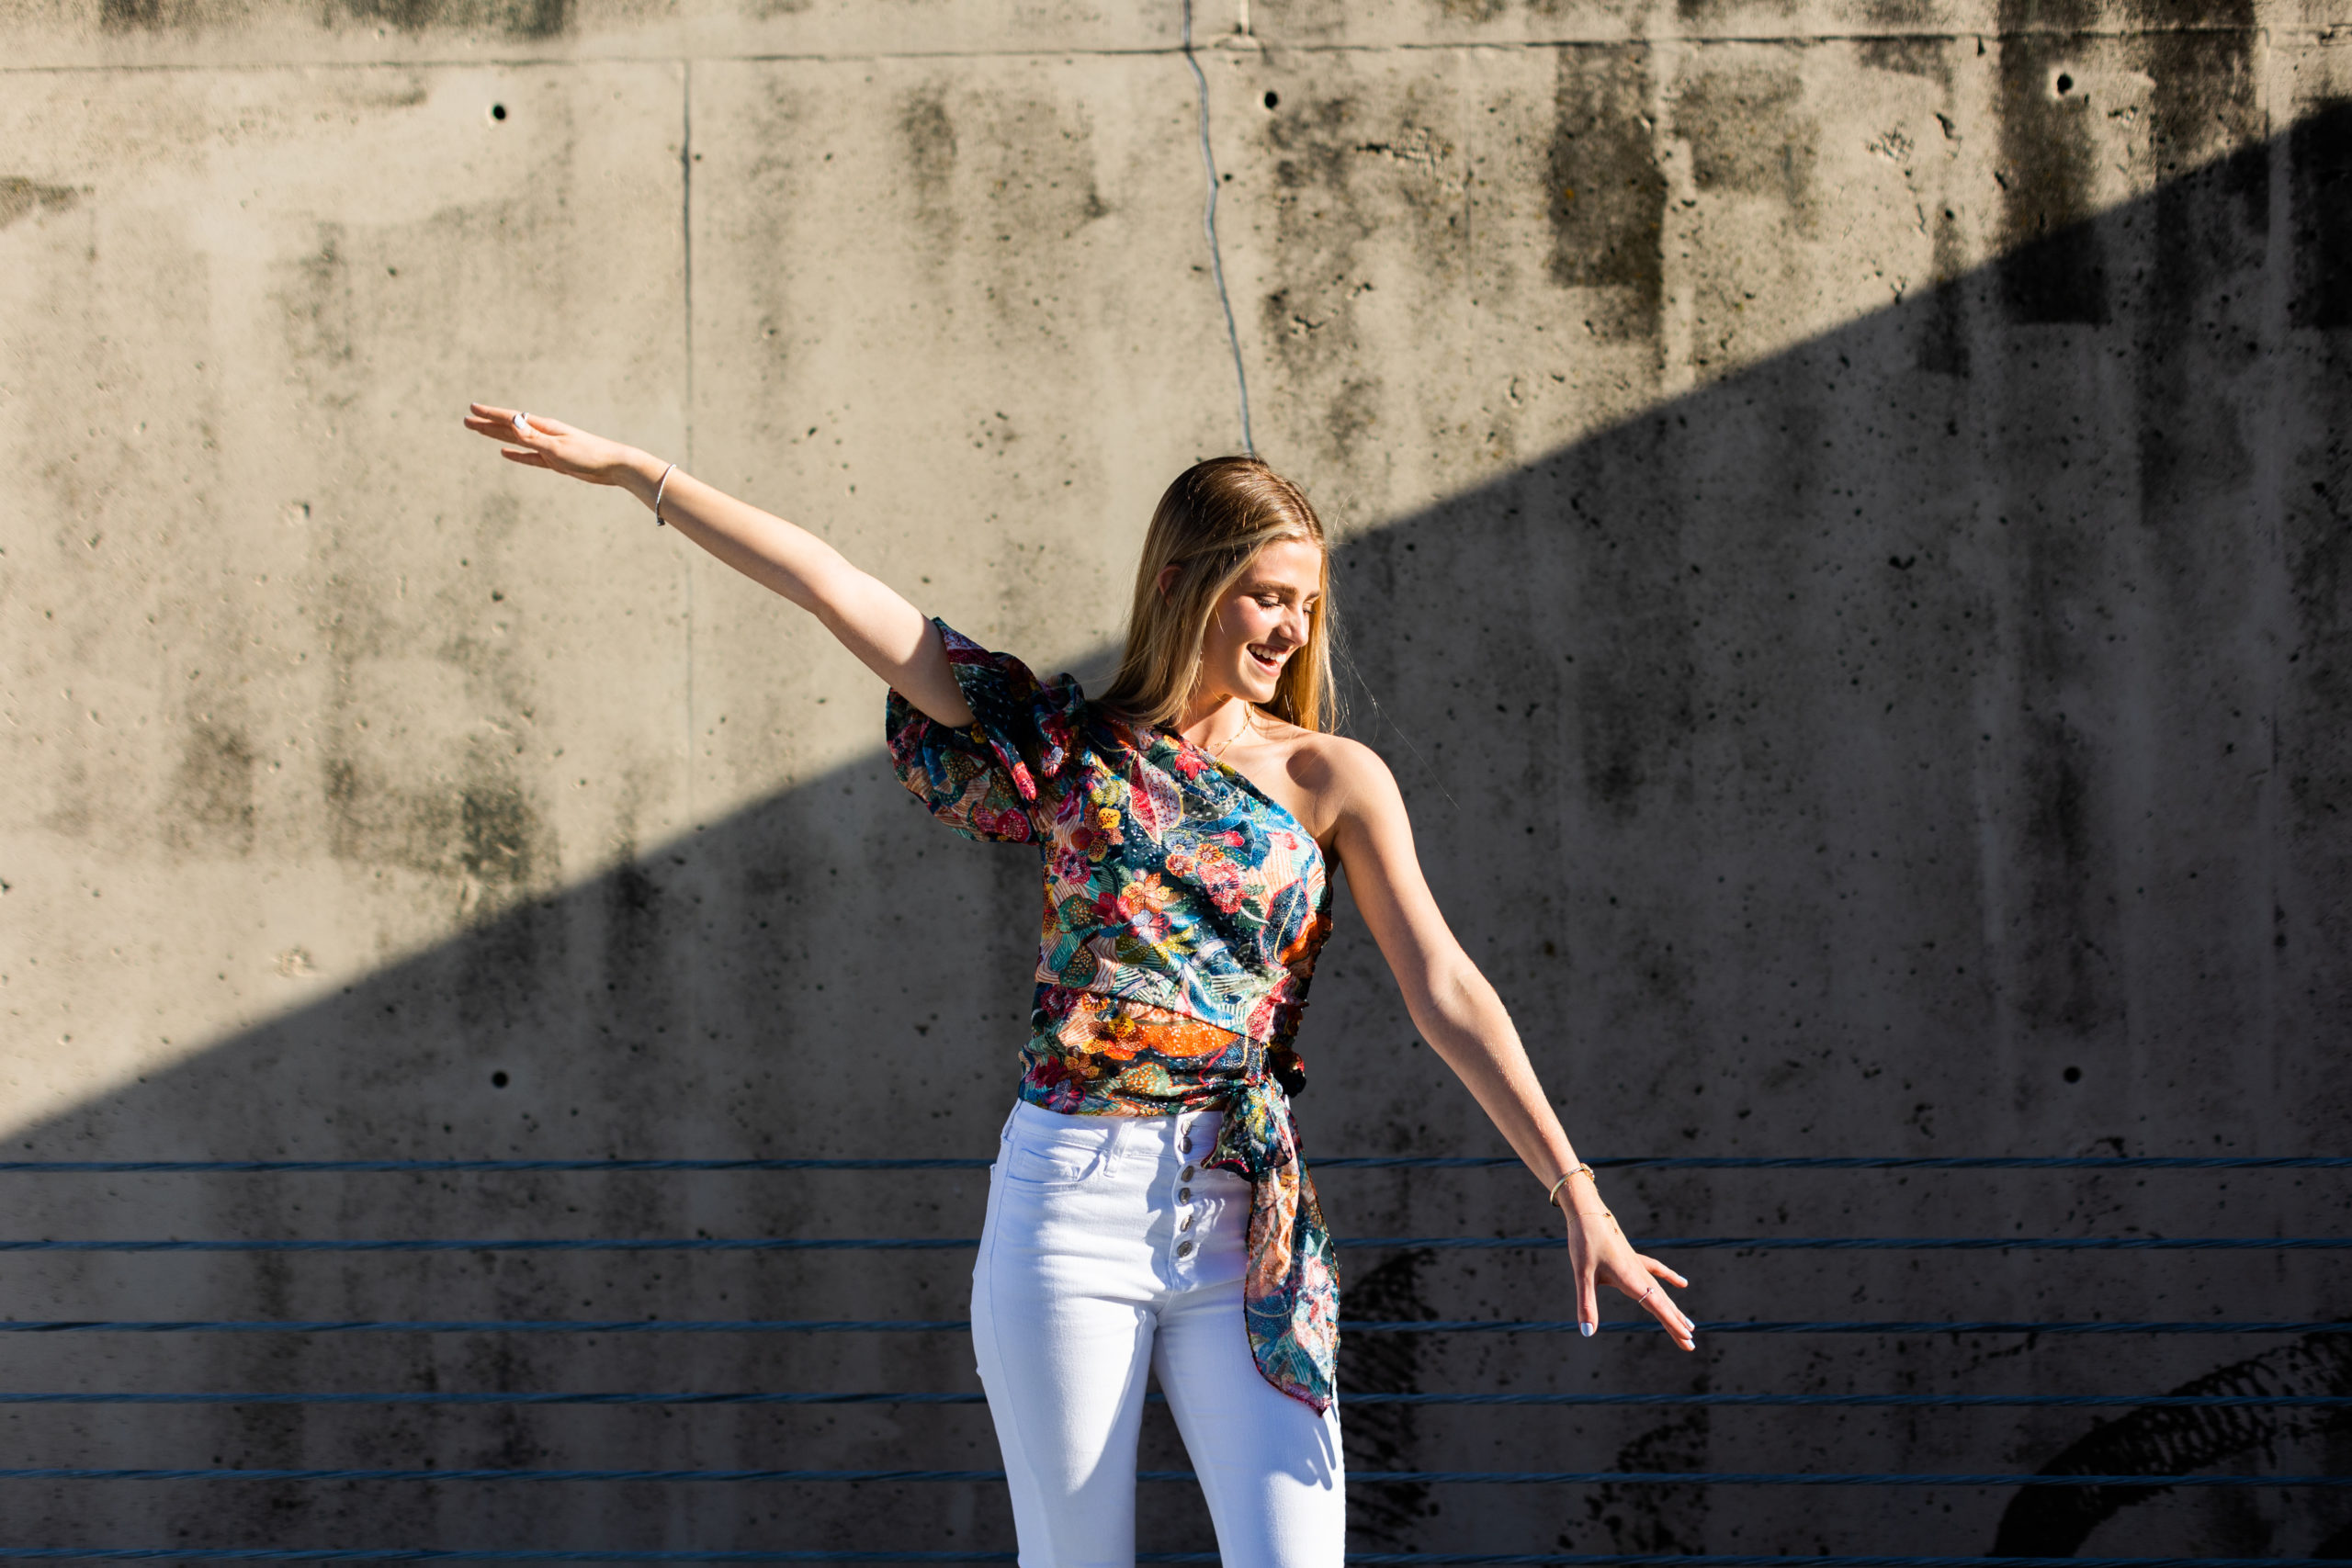
However, shadows can often create intrigue, dimension and drama – we love to see it! Dramatic shadows can be so eye-catching and can transform an image from seemingly flat to edgy.
Diffused Light
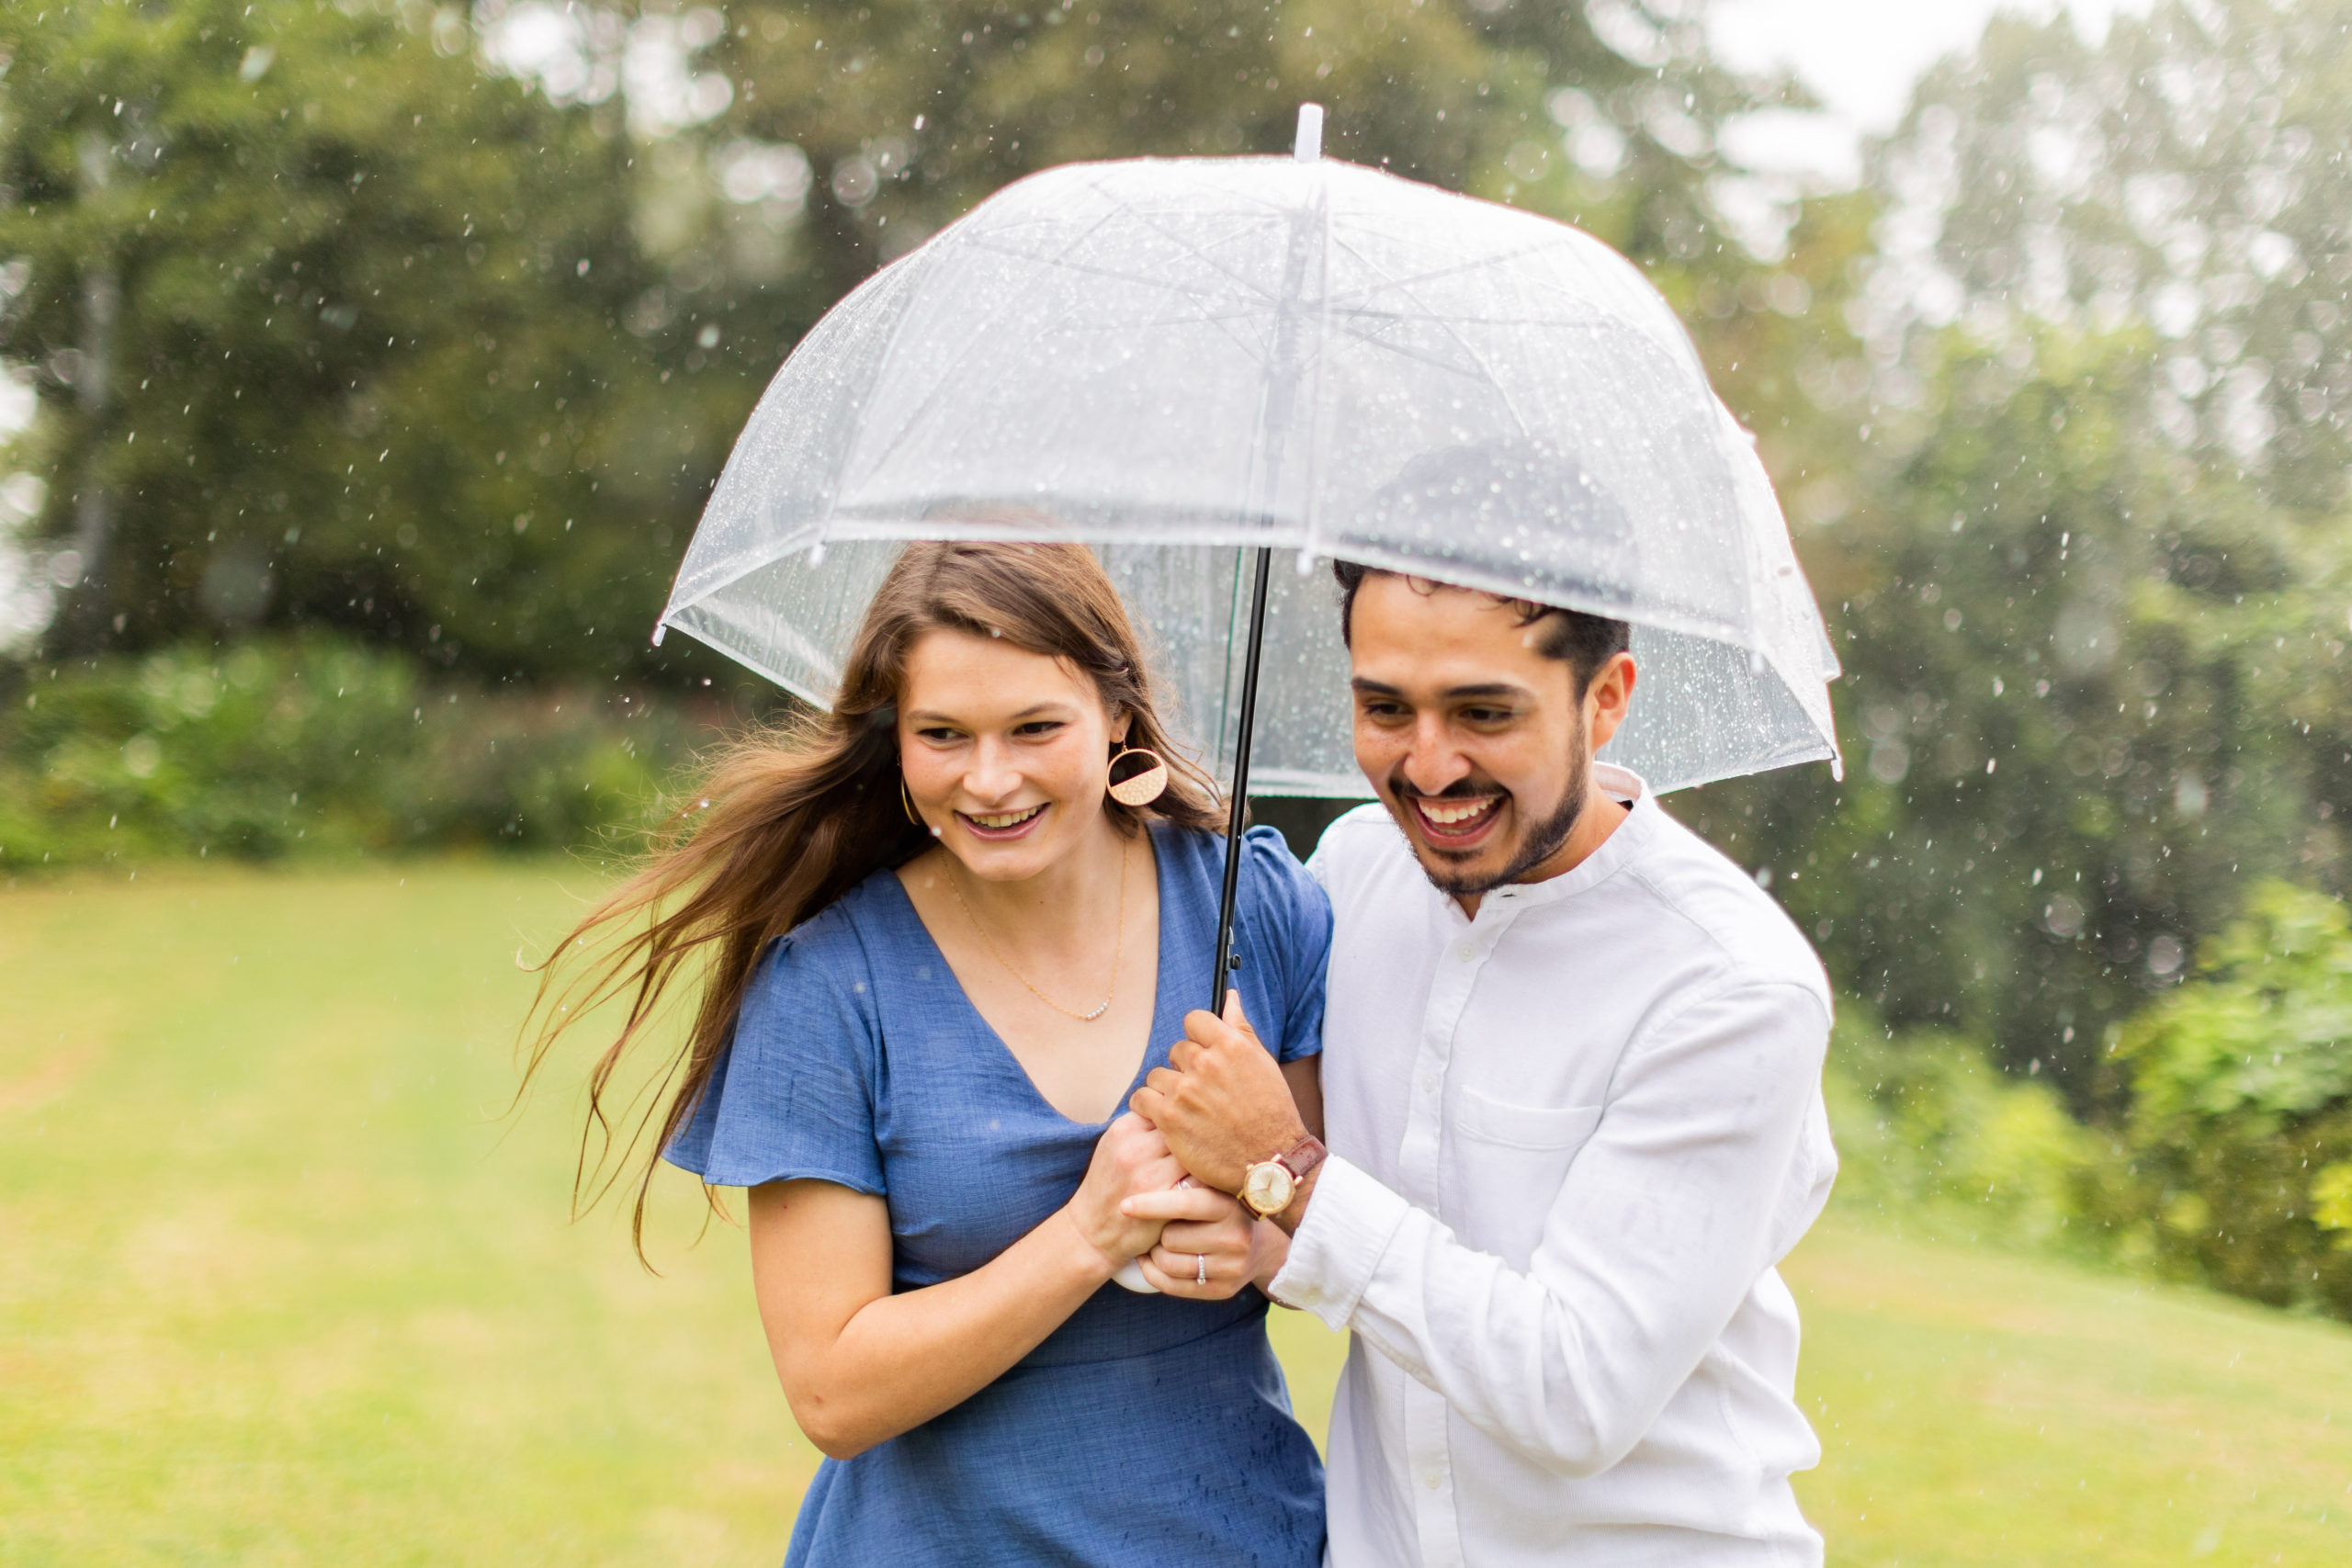
When the sun is hidden and clouds are covering her, this is called diffused light. Obviously the sun is still in the sky, but there’s an atmospheric object literally “clouding” her power – diffusing, as photographers say. Many photographers love shooting on cloudy days because they have all control of where there subject is and the sun’s brightness isn’t ruling where they can or cannot shoot.
I personally get sad on cloudy days and would prefer the full force of the sun’s rays in my shoots, but diffused light is very flattering and brings a lot of opportunity for locations and angles because you’re not sun-dependent.
My Favourite Way to Shoot
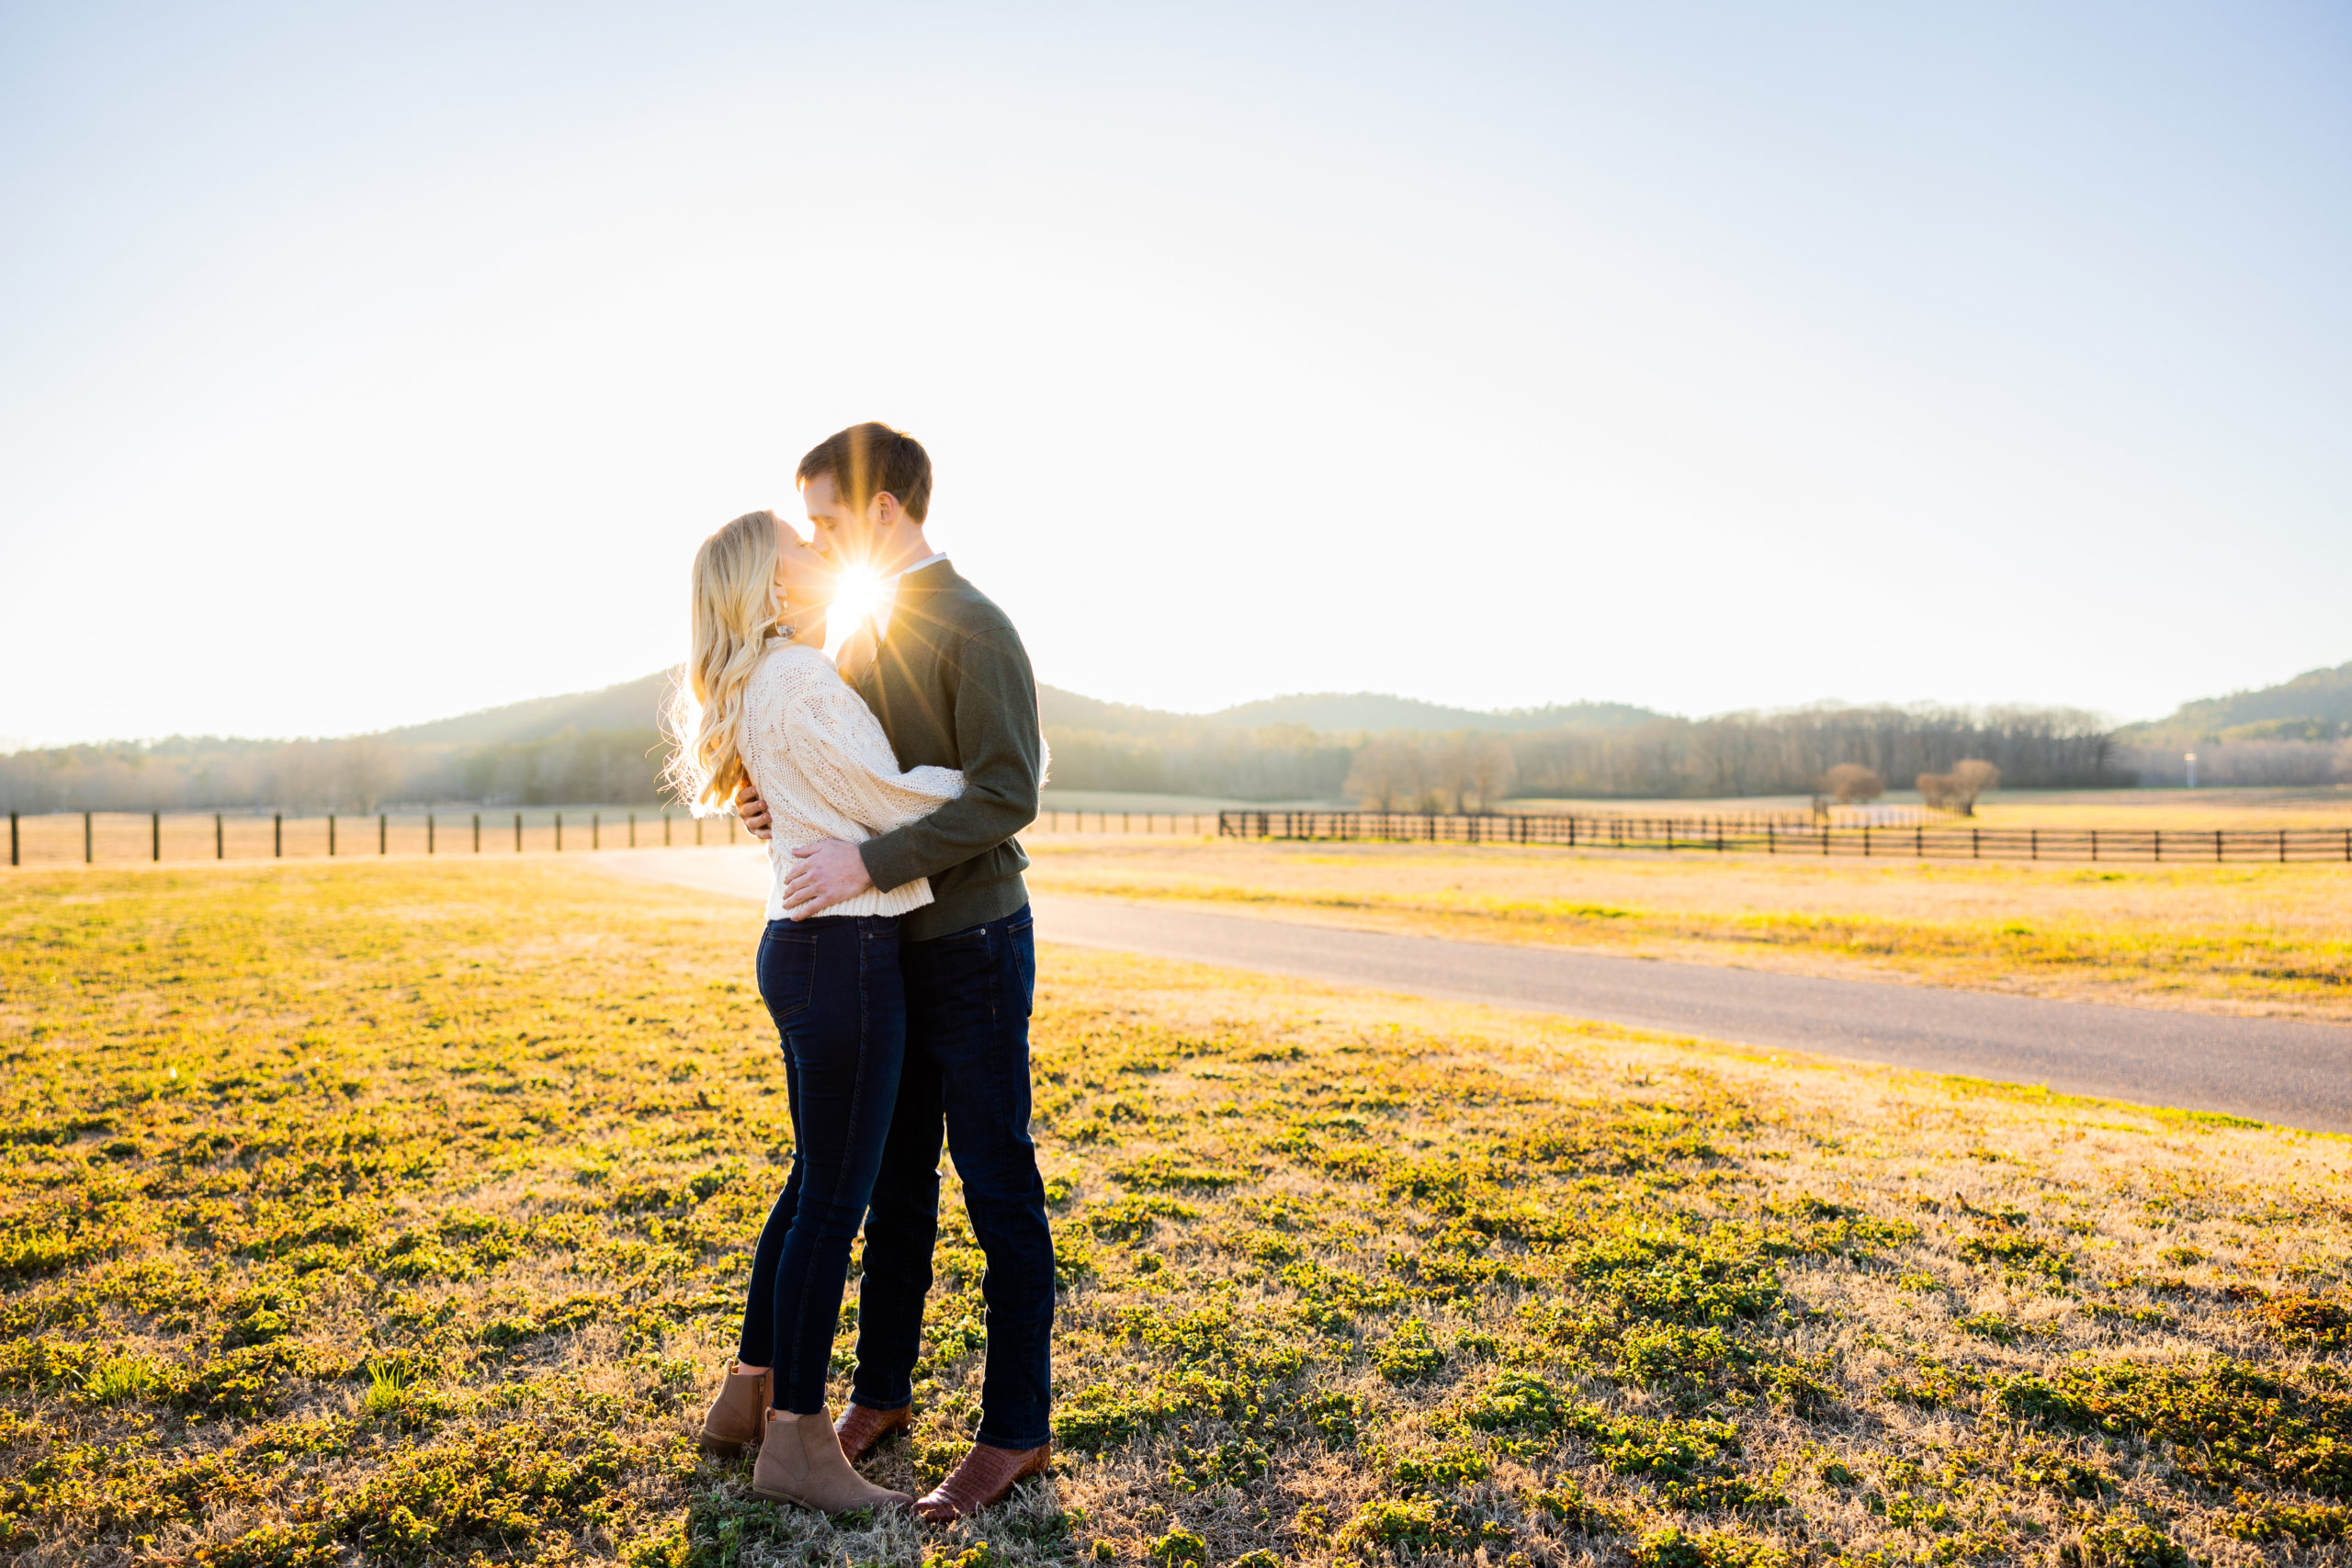

The most preferable time to shoot is “golden hour.” It’s the hour before sunset when the light is still out, but slowly setting. It gets low and glowy, like a sultry love song, and it lures you into its magic as it approaches the horizon. You truly can’t beat the orange ball of fire in the sky gracing a photoshoot! It’s so romantic and allows so much opportunity for creativity.
I’m slowly falling in love with midday shoots, though, and enjoying the brightness and challenge that shooting in overhead sun brings. When there’s no open shade, it can feel daunting to face your relationship with light head-on (literally) and push yourself. But it’s so rewarding, because the colours are typically more vibrant than at golden hour.
At the very same time, shadows are so compelling and I’m finding myself drawn to the drama and uniqueness of incorporating them into my work – with my subjects boldly facing the sun. Hopefully you’ll see more of that in my work in the months and years to come!
Now that you’ve got those three types of light down and spun around enough times to make yourself dizzy, catch this blog post to read all about the manual settings on your camera in order to achieve the types of light you just read about!


